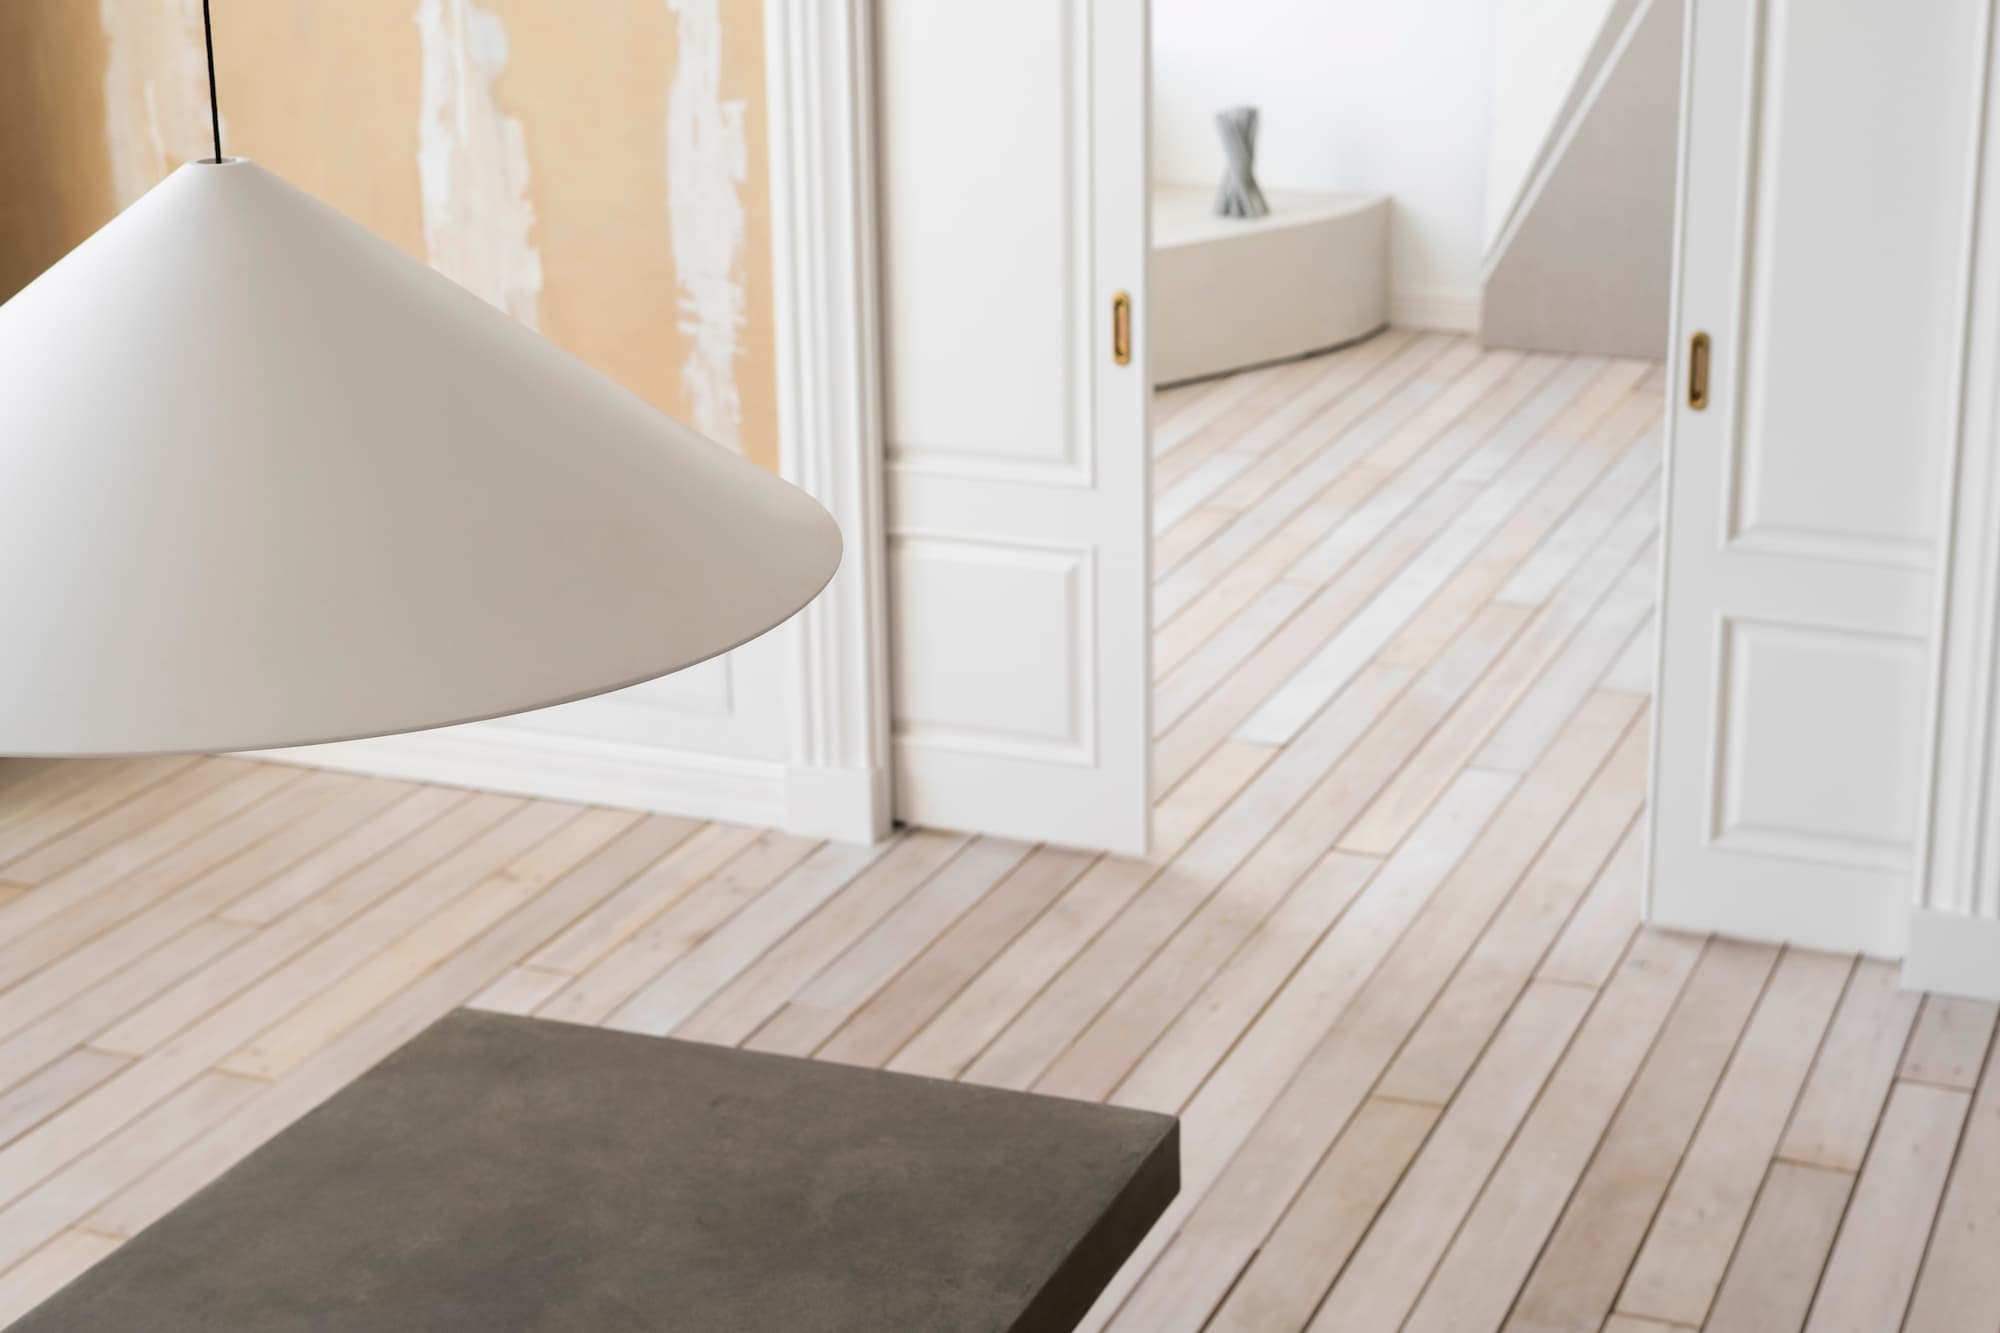
Neat skirting makes a room feel finished. The job is fairly simple if you plan your cuts, get the corners right, and choose the correct fixings for your wall.
Below is a clear walk-through that covers how to cut skirting board, how to cut skirting board corners, how to mitre skirting board, and how to attach skirting board so it stays put.
Tools and prep
Tape measure, pencil, mitre saw or mitre box (pick a box the right size for your skirting) and panel saw, coping saw, drill and bits, countersink, grab adhesive, screws and plugs for masonry, lost-head nails or pins for studs, filler, decorator’s caulk, sandpaper, and a stud/pipe detector.
Buy a little extra length. Add around 20 per cent to your room’s total run so you have offcuts for practice and joint trimming.
Terminology Tips: A mitre is an angled cut used to form a corner. To scribe means shaping one piece so it fits the profile of another. A countersink is a shallow recess that allows a screw head to sit just below the surface.
How to cut skirting board: straight runs
Mark the top edge on the back with an arrow so you never flip pieces by mistake.
Measure wall length, transfer to the board, and square cut.
Offer up the board dry to check floor level and any bowing in the wall. Plane or sand only if needed.
Tip: Always saw into the face of MDF or softwood to reduce tear-out.
How to cut skirting board corners
Corners come in two types, and the way you cut them depends on whether they face inwards or outwards.
Internal corners – scribed joints
Internal corners are best tackled with a scribed joint, which gives a neat shadow line even when walls aren’t perfectly square.
Cut the end of one board at 45° as if for an internal mitre.
Shade the profile line with a pencil.
Use a coping saw to back-cut along that line so the face profile remains.
Test against a square-cut board, then adjust with sandpaper or a sharp chisel until the joint closes.
Tip: Watching a quick video guide helps here – scribing is easier to grasp when you see it done.
External corners – mitre joints
External corners point out into the room. These are joined with a mitre, where two 45° cuts meet to form a 90° corner.
Measure the run and mark your board with a diagonal to show the direction of the cut.
Set your mitre saw or mitre box to 45°, keeping the board face up with the moulded edge to the front.
Cut the first board, then switch the saw to the opposite 45° setting for the second piece.
Offer both boards up to the wall. If the wall isn’t square, use a sliding bevel to find the correct angle and adjust.
Once the fit looks good, fix in place with adhesive, nails, or screws.
Tip: Keep every board in the same position on the saw to avoid cutting the wrong angle. Any small gaps can be filled and caulked before painting.
How to attach skirting board
Your fixing method depends on the wall type and the board material. Methods include:
Adhesive only
On straight, smooth plasterboard walls, adhesive is often all you need. Apply a zig-zag bead of grab adhesive along the back of the skirting and press it firmly into place from the floor upwards. Use tape or a couple of pins to hold it while the adhesive sets. A decent tube of adhesive usually costs £4 to £8.
If you’re working in a new build, this will likely be an OK method, if you’re in a more dated period property, you may want to consider the below methods.
Adhesive with nails or pins
If your walls are a bit uneven, combine adhesive with lost-head nails for extra hold. Space the nails at around 600 mm intervals, driving them into studs where possible. Punch the heads just below the surface so you can fill them later for a smooth finish. This method keeps the board fully in contact with the wall while still giving you a clean look once decorated.
Screws and plugs
For masonry walls or areas where walls are far from flat, screws and plugs are the strongest option. Mark fixing points about 60 cm apart and 20 mm below the start of the chamfer. Drill pilot holes through the skirting, countersink them, then mark the wall through each hole. Drill to plug depth, insert wall plugs, apply adhesive, and screw the board in so the heads sit just below the surface. A box of 200 screws is usually £6 to £10, with wall plugs costing around £3 to £5.
Finishing touches
Once fixed, fill screw or nail holes, let them cure, then sand flush. Seal the joint between the wall and skirting using decorator’s caulk, smoothing with a damp cloth or finger. Prime softwood ends before painting. MDF takes paint easily, but make sure any cut edges are sealed to avoid swelling.
Ready to buy your skirting equipment?
When it comes to choosing skirting, you’ll find plenty of options in our skirting and architrave range, or pick between softwood and MDF boards depending on the finish you want.